ASME ANSI Y14.18M:1986 pdf download OPTICAL PARTS
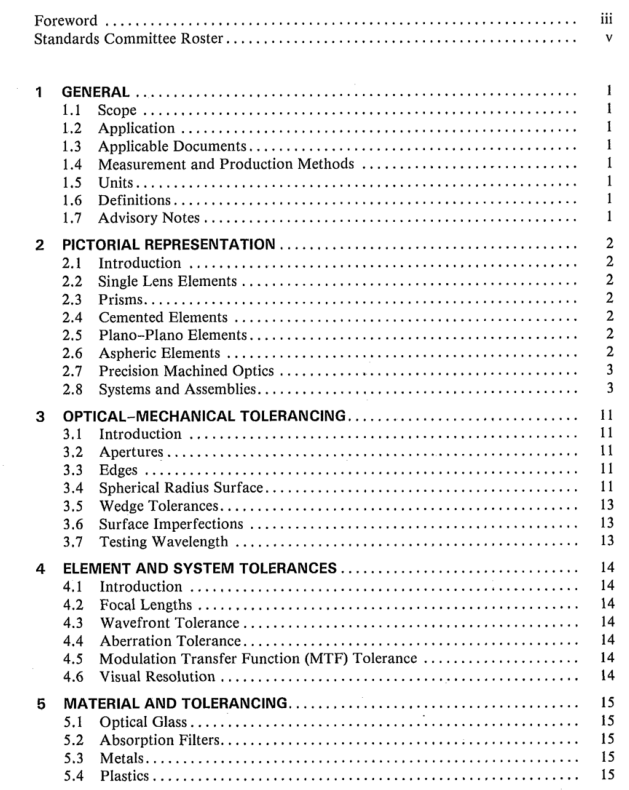
1.4 Measurement and Production Methods This Standard does not define measurement or pro- duction methods for producing optical parts. When special processing is necessary to meet design require- ments, this is specified in an advisory note on the drawing. Such notes are used in some figures for ex- ample only.
1.5 Units The International System of Units (SI) is featured in this Standard. It should be understood that U. S. customary units could equally have been used without prejudice to the principles established.
1.6 Definitions Unless otherwise specified, definitions for termi- nology used in this standard are in accordance with MIL-STD-1241.
1.7 Advisory Notes An advisory note is reference information.
2.1 Introduction The mechanical view of an optical element typically follows standard drawing practice except as noted be- low. Individual optical elements shall be presented in the orientation that they maintain in their optical sys- tem drawing (see para. 2.8.3).
2.2 Single Lens Elements
2.2.1 Views. A single lens is depicted by a single sectional view (see Fig. 1). Hidden lines (backedges) are omitted. Glass hatching in accordance with ANSI Y14.2M is optional. Lenses of unusual configuration are depicted using as many views as are required.
2.2.2 Dimensions. Sufficient dimensions and as- sociated tolerances shall be given in accordance with ANSI Y14.5M to physically describe the item with re- spect to perimeter and thickness. Surface radii should be labeled and the information tabulated.
2.2.3 Surface Information. All surface informa- tion shall be given either specifically or by default to ti- tle block information (see ANSI Y 14.1). The surfaces shall be labeled and the information tabulated.
2.3 Prisms
2.3.1 Views. As many views as required to depict the necessary details shall be used to represent a prism. A sample prism drawing is shown in Fig. 2.
2.3.2 Dimensions. Sufficient dimensions and as- sociated tolerances shall be given in accordance with ANSI Y14.5M to describe the shape and volume of the prism, Additional tolerancing is discussed in Section 3.
2.3.3 Surface Information. All surface informa- tion shall be given either specifically or by default to ti- tle block information (see ANSI Y14. l). The surfaces shall be labeled and the information tabulated.
2.4 Cemented Elements
2.4.1 Views. Two or more elements cemented to- gether shall be shown as a detailed assembly. A sample drawing is shown in Fig. 3.
2.4.2 Dimensions. Sufficient dimensions and as- sociated tolerances, as required to control the finished assembly, shall be used. Unless otherwise specified, the assembled elements shall meet their individual element tolerances.
2.5 Plano- Plano Elements
2.5.1 General. This type of element, a special case of para. 2.2, may be a window, filter, reticle, or other element depending upon its specification,
2.5.2 Wedges. The wedge shall be drawn with its maximum thickness given, and the optical deviation of the wedge given and toleranced at a specified wave- length of light. The mechanical angle of the wedge may be given alternatively, but the drawing should clearly differentiate between the two. A sample wedge drawing is shown in Fig. 4. .
2.5.3 Reticles. Reticle markings shall be shown in the drawing and shall be fully portrayed and dimen- sioned. It is usually necessary to specify certain pro- cesses such as etching for manufacturing control of the item. A sample reticle drawing is shown in Fig. 5, .
2.5.4 Windows and Filters. These items are drawn similarly to para. 2.2 and differ primarily in the types of coatings used as noted in para. 6.5. A sample filter drawing is shown in Fig. 6.
2.5.5 Flat Mirrors. These items are drawn similarly to para. 2.2 and differ from the above primarily in the materials and coatings used. 2.6 Aspheric Elements 2.6.1 General. This type of element, a special case of para. 2.2, has one or more nonspherical surfaces.ASME ANSI Y14.18M:1986 pdf download
ASME ANSI Y14.18M:1986 pdf download
